Saturday, August 28, 2010

I'm a Weekend Blog Hop participant!

Photobucket

You can be too! Just go visit and link up. You can just click here to get there. Make sure to visit other blogs too. It's a great way to be seen more! There are a lot of great bloggers on there! Have a blast!

Friday, August 27, 2010

Backpack ID Tag tutorial

So far I've linked this to these linky parties!


Plus craft eNVy made me a highlight! Yeah!


School started for us Monday and I still hadn't put my son's name on his new backpack until today. I didn't want to write on it or permanently affix anything to it so a luggage tag seemed perfect. I don't generally keep any around so of course I attempted to make one. Here is that tutorial. I'm not 100% happy with the way it turned out and the pictures I took so I'm going to revise it after I make a better one. But in the mean time, here we go!

You will need:
sewing machine and thread (I used clear because I didn't have orange)
6x8 fabric (I used felt because the edges of mine are raw and felt doesn't fray)
3x5 clear vinyl (or recovered plastic from something with enough flat space. I used the back of a plastic box from our new shower head!)
an eyelet and tool to apply it
a key ring
scrap cardstock for insert
glue stick
*Sorry I don't have a supply picture.*

Okay, so start by cutting 2 rectangles, 3 1/2 inches by 4 1/2 inches, from the fabric.
Cut 1 rectangle the same size from the plastic (or vinyl).
Cut out the center of one piece of the fabric, about 2 1/4 by 3 1/4. Round all corners.


Set aside the the fabric piece without the cut out.

Now apply a bit of the glue stick around the very edge of the plastic.


Line up with the fabric with the cut out and the plastic and press it on.


Now sew along the edge of the inside, pretend like the little yellow line in the picture is this stitching.


After I did this I also stitched another line all the way around a little father out. You don't have to and I really don't remember why I did in the first place!!

Now place the other cut out on the one with the plastic, the plastic should be on the inside now. Sew together both long sides and across the bottom close to the edge.


Now apply the eyelet to the top corner of the sewn together side. I placed mine on the stitch line so it wouldn't make it hard to fit a card into later.


Now put the key ring on.


Cut out a rectangle 3 3/4 by 2 3/4 from the cardstock. Round the edges. I choose to write name, grade, and teacher on mine. You can do whatever fits your needs of course. Slide the card in the open end.


EDIT: Okay after a few days of my son running and his backpack bouncing all over, I noticed the card would slide out. To fix this all I did was attach an eyelet to both the back and front pieces of the tag at the opening and tied it closed with a bit of embroidery thread. When I need to change the card I just have to untie (or cut) the thread. Problem solved, now he can bounce his backpack all he wants and the card stays put!

Now trim up the edges and your all set to put the tag on your little ones backpack.


As with all of my projects, I have designed them for my family and love to share with you so you can have them for your families as well. All projects, patterns and directions are meant for your personal use and neither the patterns nor completed projects are to be used for monetary gain.

Wednesday, August 18, 2010

Oh, yeah! I made a quilt!

Well almost! I still need to do the binding but then it's all done! I know, I know, I always said I wouldn't make a quilt. I thought they were too much and that I would lose interest. But one night when I peeked in on my little Peanut sleeping in her Disney Princess sleeping bag I just really felt like she needed a quilt. Within an hour I had the fabrics all picked out and the first 3 dozen squares cut out! (This was a Monday night) By Wednesday I had all of the piecing done. It's laid out on our queen size bed and as you can see it's pretty big so she can use it for a long time. (One can only hope forever!)


By Saturday night I had the whole sandwich put together.
By Monday night I had all the ties done. I like the ties simplicity plus felt more confident about doing them. I'm really glad I made that choice because even though the quilt is to be a birthday present, Peanut has seen and touched it and she loves the feel of the ties. (If you left click the picture you can see the ties better.)


It did sit on top of my "to finish" pile for a bit, but that was just because I knew I wanted to hand embroider her name and I didn't have a hoop yet!


And just because I'm so proud of the embroirerey, after learning how to do back stitch properly, here's another picture!!


It's far from perfect and some of the seams... okay, a lot of the seams don't line up but I'm super proud! And, yes, I will be making more quilts!

Tuesday, August 17, 2010

Last weeks projects- ribbon holder, gummies and embroidering

Aside from not feeling well, still healing from surgery, and slicing off the tip of my finger (with a slicer I've owned for three years and only used this once) I don't really feel like I got a lot done last week. I did however get to a few things on my list.
Like this ribbon holder.

It's made out of a wood plank and a dowel. I don't remember the sizes, like most things I make, I eyeballed it! I just *asked hubby to* cut the plank down to width that would fit my space. Cut the dowel into 4 equal pieces. Drill holes for the dowel to slides into. Glue dowels in and paint. Really easy and it only took about 2 hours, with drying time. Besides it cost under $5! Always awesome!

I also finally got around to making these homemade gummy candies using Skip To My Lou's tutorial.

They turned out really well! Highly recommended! But I did dust the backs with cornstarch because the blue recipe she states at the bottom produces a more sticky candy. Also dusted the tops after they were out so they wouldn't stick together. Hubby said the cornstarch made them a better chewing consistency as well.

Another thing I did was learned how to hand embroider!! This is the second thing I did...

I have no clue what I'm going to apply it to, but Peanut really likes it so it'll most likely end up on something for her.

The first thing I embroidered was this...

Now I'm really super excited about this one so you'll have to wait till my next post to read about this project! It's just too much for this post!

See you soon!

Saturday, August 7, 2010

How to make flower ribbon barettes


Okay, so the flower I made for this barrette is the biggest one I've made. Generally I make the smaller ones. So for those who would like a bigger flower I'll give the measurements for both. You could also make a different size to your liking by just making the ribbon cuts larger or smaller.

You will need:
Hot Glue
Hair clip with center opening
Decorative button top
2- 24 inch weaving ribbons in two different colors
*If your making the small flower
5- 3 inch ribbons for outer petals
5- 2 inch ribbons for inner petals
*Or if your making the large flower
5- 5 inch ribbons for outer petals
5- 3 inch ribbons for inner petals


First, lets make the flower. Take the first ribbon for the outer petals, loop it and glue together at tips


Do the same with the second petal. Glue that petal to the first petal at the tips.


Continue with remaining petals.


Once all 5 petals are on it should look like this.


Now for the inner flower. Do the same loop and glue method and you should end up with this.


Now glue inner flower into outer flower.


Cut or break off the back of your decorative button so you just have the top.


Glue it to the center of the inner flower. You should now have this.


Set flower aside and lets start the weaving.

Melt or glue one end of your weaving ribbons together. Your going to need to pretend like these two ribbons are one with different colored sides.


Glue the other ends to the back of the clip at the open tip. (This I did wrong and glued to the front so unfortunately my raw edge and glue show just a bit.)

Now to weave. Bring both ribbons around to the front and through the center opening and back out around the outside. Continue weaving back and forth like so- through the center, around the outer, through the center, around the outer.
Make sure you keep the ribbons straight so your colors are correct.


Weave tightly, pushing ribbon up towards the tip so it'll be as tight as possible when your done.


Once you reach the end where you can no longer fit the ribbons through the opening anymore, wrap around to the back and glue. Now wrap around to the front and glue. Now once more to the back and glue. You should now have a little tail you can keep and singe the ends. You could even sting some beads or cut it off all together.


Now grab your flower and glue to end of barrette and your ready to accessorize that special little miss in your life!


Hope you enjoyed this one! Have a great weekend!

I shared this tutorial on BCD 125


As with all of my projects, I have designed them for my family and love to share with you so you can have them for your families as well. All projects, patterns and directions are meant for your personal use and neither the patterns nor completed projects are to be used for monetary gain.

Friday, August 6, 2010

You know you want to!


Want to make one of these sweet little hair clips for some special little girl? You know you do! Okay, then this will be tomorrow's tutorial.

Side note, Peanut plays with her hair alot and she kept pulling it out and having me put it back but still didn't want to take it off at night.

My first tutorial- A reusable lunch bag


This is one of the easiest projects for me to think of to use as my first tutorial. In retrospect maybe my reusable snack bags would have been a better idea! This tutorial thing is interesting. As I made this one I wrote down each step and really hadn't realized how many little steps there are that I wanted to make sure I hit on so no one reading would be lost.
I did this one for my hubby, who usually gets forgotten when it comes to what I make. It really all depends on your fabric choice too as to who it could be for. So, here we go.

You will need:
Standard sewing tools
Paper bag or newspaper to make pattern
1/2 yard outer fabric
1/2 yard liner fabric
1/2 yard stabilizer, fusible fleece, polar fleece or whatever you want to use for the inside. It's just to give the bag some stability (for this one I used some plaid vinyl coated fabric I had on hand. I don't like plastics near the food so I positioned it so the coated part is against the outer fabric and the non coated side was towards the liner.)

First start out by making the pattern. Cut open your paper bag (or lay out newspaper).


Now cut out 2 of each of your fabrics.


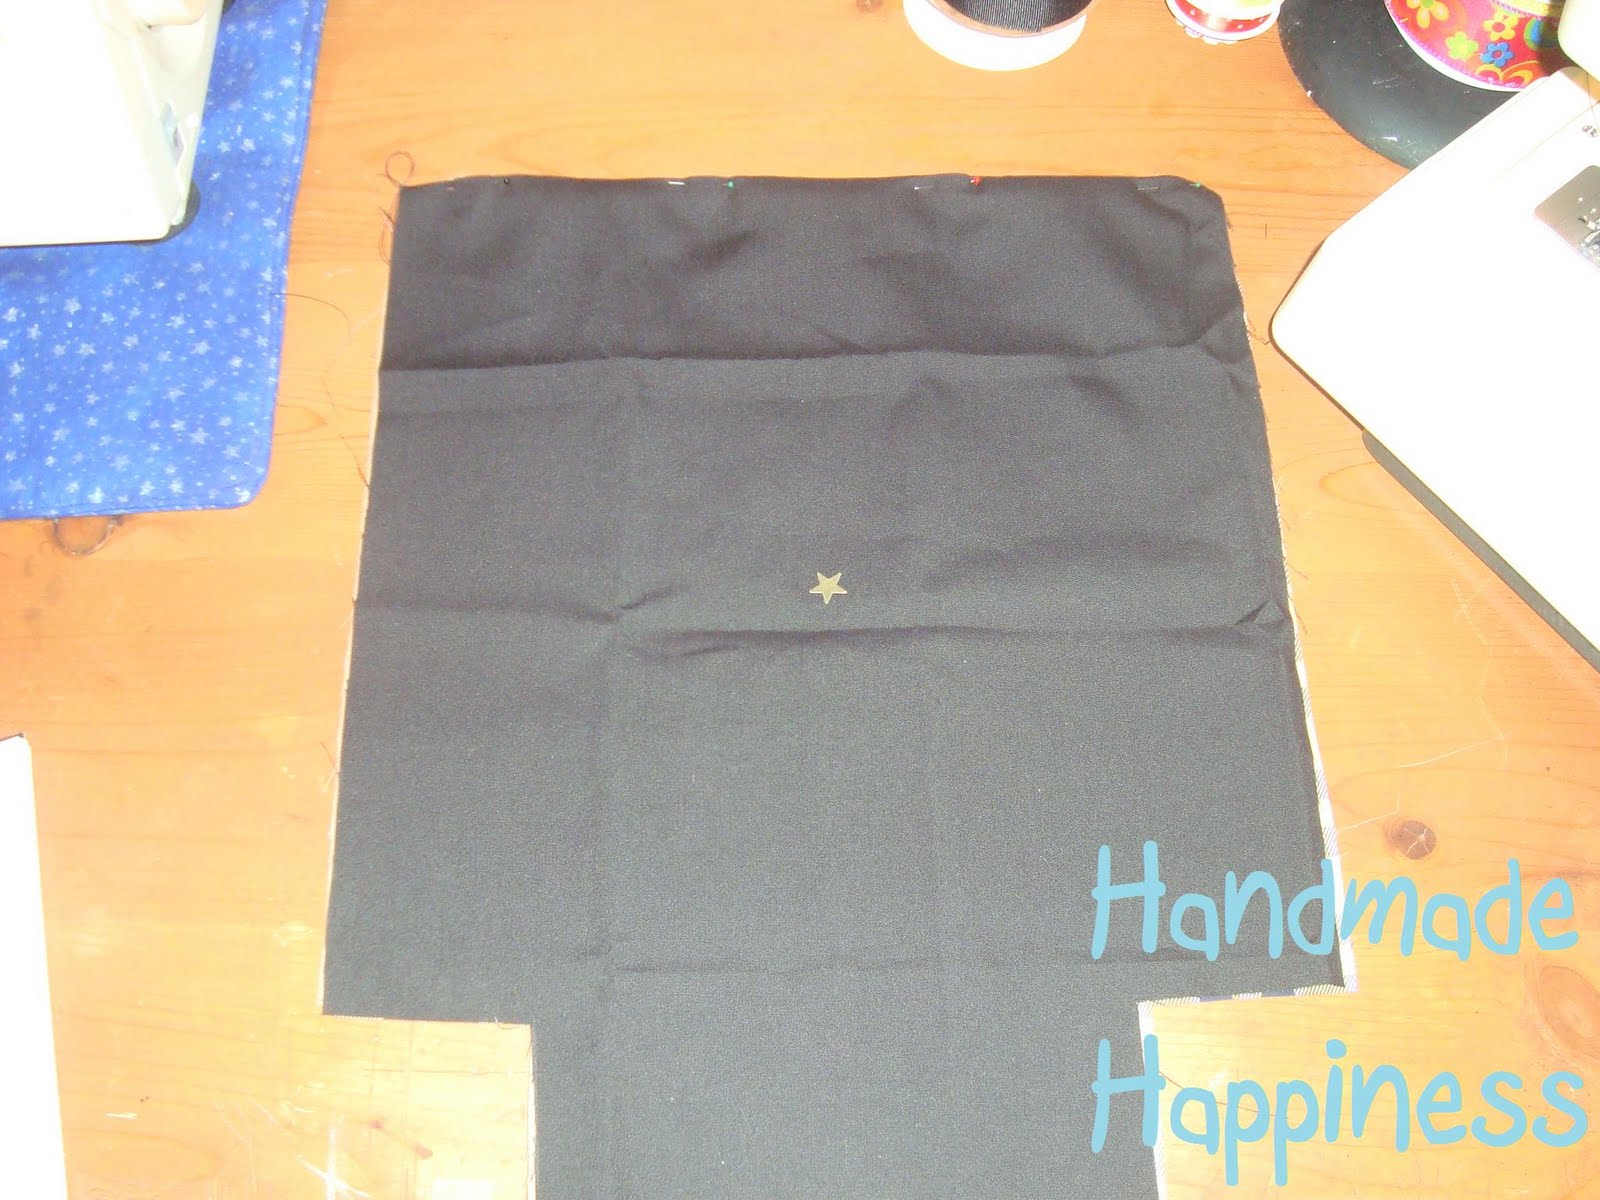
Now make a "sandwich" like this: 1 outer, 1 liner, 1 stabilizing. The right sides of the outer and liner should be together for those of you using no reversible fabric such as ones with designs. (For demonstrative purposes I've placed star stickers on the right sides of my fabric.)


Pin along the top and sew straight across the top. This is going to be so you finished bag has a nice clean look.


Repeat on the other set of fabric you cut previously.
Now take one "sandwich" and flip the fabrics over so you now have the outer fabric faces right side up, the stabilzing layer is in the center and the lining fabric is at the back right side down (on table).


Press seam, pin, and sew about a 1/2 from the top.


Repeat on second sandwich.
Bast edges of each sandwich so they don't move around on you so much.


Now pin both sandwich pieces together, outer fabrics facing each other. Sew down both sides and across the bottom leave the corner cut outs open. (Sorry I forgot to take a picture of this step).
At this point I surged the raw edges on the sides and bottom to give a more clean look and so it wouldn't fray. If you can't do that a zig-zag stitch works too.


Next for the corners. Seperate pieces by sliding your finger between the two peices of outer fabric. Now bring the bottom seam to meet the side seam. Pin and sew.


Repeat on other corner and your bottom should now look like this. (I finished this edge too.)


Now draw a straight line from the corner straight up the side to the top.


Repeat on all four corners. Both sides should now look like this.


Now fold so your line is just in the center and sew along the line very closely.


Repeat on all four lines. When your done all four of the corners should now be actual corners and the bag should stand fairly well on it's own.


Alright, now flip the bag right side out. Press your corners out and your all done.


Generally I would put some kind of closure. For this one, hubby takes a large water bottle and didn't want a closure so he can just roll it closed whether or not he takes the water bottle in it.


I've shared this on


Hope you enjoyed sewing with me today! And please leave me your comments if there is anything I left out or is unclear.

As with all of my projects, I have designed them for my family and love to share with you so you can have them for your families as well. All projects, patterns and directions are meant for your personal use and neither the patterns nor completed projects are to be used for monetary gain.