Monday, November 29, 2010

The Grandma Box

     Get ready for an incoherent ramble written through wet eyes! This means a lot to me, and is hard to do but I'm sharing a bit of my heart and soul today so hang in there with me.


     Two and a half years ago my maternal Grandma passed away. Amongst all of the comments and memory sharing there was one thing that really stuck with me. It was when my sister said, "There won't be anymore Grandma boxes." It didn't really sink in until later what that would be like. It's been two years, soon to be three, without getting that big box in the mail. These boxes where unique.
     First you should know, my Grandma and I shared our crafty, creative side as well as our love for thriftiness. She couldn't pass up a yard sale and I have many memories of sorting through piles of other peoples stuff finding our own little treasures tucked away in there. I still think of her every time I see one of those hand written yard sale signs!
     So, back to the boxes. They were always unique. Grandma didn't give big, expensive gifts that no one really needs. They were always practical gifts. Things like teddy bears, and handmade blankets for the kids. Also simple toys like rattles, and secondhand clothes that always seemed to be perfect. For the grownups there would be things like dishtowels (many of which I started receiving when I was 16 and still have), manly things for the men, like knives. Growing up my sister collected carousels and I collected porcelain dolls and clowns, so she would send things like that too. Most of my dolphin collection came from her as well. There were staples that you could always count on, like sugar free hard candy, and thin mints.
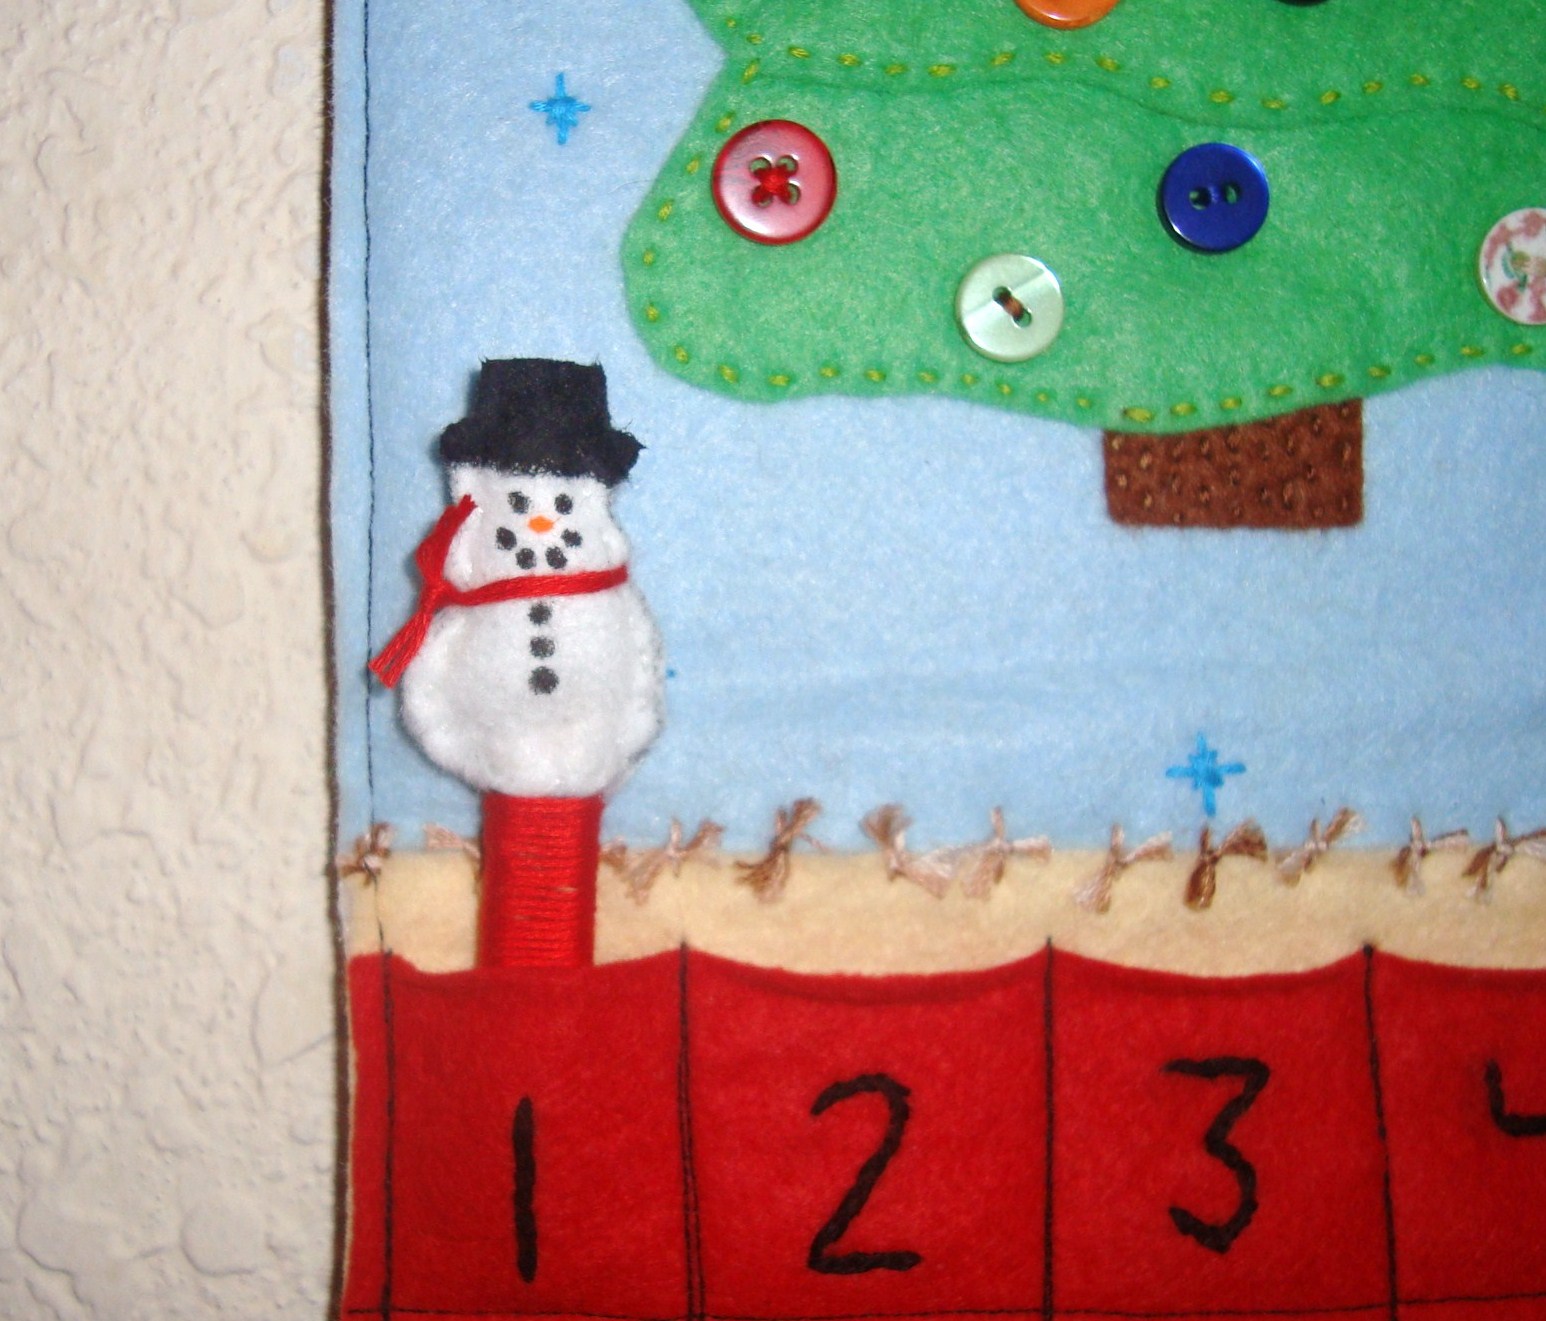
      It was amazing to go through those boxes and to see the frugal way she would wrap things. One of her favorites was using empty cracker boxes. For my son's first Christmas he got a big teddy bear wrapped in a hand sewn red plaid blanket. And when I say hand sewn I mean HAND sewn, not machine. Every little stitch made by her. Another of his gifts was wrapped in a fabric panel she had hand sewn... he's had it up on the wall in every room he's had. One year he got a pillow with a hand sewn pillow case, the next year he got the matching blanket.
     So this year I've decided to pick up where she had to leave off and start a new tradition. I think every one should receive hand made gifts. I believe it is one reason I adore giving and receiving handmade gifts. We are not a religious family. Christmas for us is about family, love and thankfulness. It's about being together and being glad we have each other, even when we're hundreds upon hundreds of miles away. So much of Christmas is giving but a part of it to me is also receiving a little piece of those who love you. For my sister, I'm doing my own "Grandma Box", an "Aunt Amber Box" I guess. Maybe, just maybe, you could start this too. Give handmade and practical gifts. Put your heart into it. Give something that brings tears, and will be loved and create a wonderful memory every time it's seen for years to come.

Friday, November 26, 2010

This Moment-First Turkey leg


This moment: a Friday ritual inspired by soule mama
a single picture, requiring no words, yet telling a story worth remembering!

Wednesday, November 24, 2010

So much to be thankful for... a short auto biography!

      Holiday's have always been... 'interesting' for me. Growing up I loved the holiday season. As a teen my Dad's frequent bad attitude towards odd things made things rough. As a young wife and mother it started to get better but money made it stressful. Last year we had just lost my step dad to cancer and we were staying with my wonderful mother. Neither Hubby or I were working yet as I was waiting for my position to open for my transfer from Ohio. This year things are exponentially better. We own our own home, Hubby has a really great job and things are finally stable now. So needless to say I'm super stoked! I am so excited about cooking Thanksgiving dinner in my very own kitchen, on my very own appliance that Hubby and I picked out together and didn't just come with our place or off the side of the road!
     My son also just lost his second tooth. He is also doing amazingly well in school. We were all in the dark as to whether or not his delays (due to his Apraxia) would hold him back. To get to go on to first grade next year he needs to be able to identify at least ten letters and the numbers 0-20. I promised him back in the beginning of October by Christmas he would know ten letters and his numbers 0-10. As of last Sunday night he knows 11 letters and his numbers 0-12.
      So that being said, there are just so many things I am thankful for. Wishing you all a happy and wonderful Thanksgiving, may it be filled with joy and warmth!

Monday, November 22, 2010

Thanksgiving Menu Printable


     Way, way back when my family first got Printshop on our first computer one thing my mom like to do was print out our Christmas cards and Holiday menus. Well that stuck with me and now I like to design and print my own menus... and sometimes cards, place cards, decorations and everything else I can make! This is the menu design I'm using for this year.
     Now this is my first printable so if I mess up let me know so I can get it fixed ASAP! Also the font I used for the bottom is Calligraph421 BT and I'll be using it for the menu font as well.
     You can print out the design and then re-print your menu over it or if I do it right you should be able to add your own text right over top of the design to print like that.

I'm sharing this on  

Friday, November 19, 2010

This moment-Family


This moment: a Friday ritual inspired by soule mama
a single picture, requiring no words, yet telling a story worth remembering!

Wednesday, November 17, 2010

Making a play kitchen from an old night stand

I've been wanting to make a night stand into a play kitchen for a while now. It's going to be Peanut's big Christmas present. I've been keeping an eye out for someone getting rid of an old night stand to give this new life to. Finally on Monday while on a Freecycle run I found this poor little babe among some other broken discards. (FYI: Freecycle run= bulk is scheduled to pick up in our neighborhood around 15th of every month so there are some treasures out there for those of us willing to go find them. Also for those other neighborhoods that aren't as close, Freecycle drives are initiated.)
I trudged it back home, neighbors eyes wide in questioning, and around to my back porch. This is where I've been spending my craft time since. So far I've got it taken apart, the top sanded, the drawer front sanded and holes filled to become the oven door. Also I've had some help...

Hubby cut the hole for the sink, a little too big I might add, so I have to fix the hole a bit tonight. My back porch is a mess, my skin is dry, and my muscles are sore but I'm so excited right now! I can't wait to get it done. If all goes as planned I'll be able to get it done for under $50.

Monday, November 15, 2010

Advent Calendar mover tutorial

I absolutly adore snowmen! I even have a snowman cookie jar and three coffee mugs that resides on my kitchen bar year round. So of course I decided to make my advent calendar mover a snowman! It was really easy and quick. As a matter of fact it was a couch craft. I just grab all of my supplies and sat down to a rerun of CSI and got craftin'!


Here's what you'll need:
White felt scrap
Template or mini cookie cutter in the shape of a snowman
Black and orange craft paint
Paintbrush
Chopstick
Needle
Glue
White and red embroidery floss
Small amount of poly fill
Scissors

To get started cut two pieces off the chopstick about 2 inches long each. Glue them together and set aside to dry.

Now trace your snowman twice onto the felt. Cut one out but leave the other.

Now lay the cut out snowman on top of the non cut out one. Stitch together leaving small opening at the bottom. Stuff small amount of poly fill into opening.

Insert the dry chopstick piece into the opening and stitch closed. Cut out the rest of the snowman.

Using your craft paint paint the hat on. Using the end of the brush apply the eyes, mouth, buttons, and carrot nose. I did both sides so it can be put in either way.


Take a couple small piece of red embroidery floss and make a little scarf by tying it on the figure.

Placing a dab of glue on the stick to secure a long length of red embroidery floss. (I left it on the spool so I could just cut it off when I was at the end and wouldn't end up wasting any.) Wrap the floss around the stick, adding glue to the stick to secure it as you go. Add another dab at the end to secure the cut off end.

And there is your little snowman mover!


As with all of my projects, I have designed them for my family and love to share with you so you can have them for your families as well. All projects, patterns and directions are meant for your personal use and neither the patterns nor completed projects are to be used for monetary gain.

Friday, November 12, 2010

Advent Calender-part 2

Dunt-de-duh! Here is the finished Advent Calendar. I really love how it turned out!

So here is the tutorial for the bottom part of my Advent calendar. For this part you'll need a couple additional supplies; a chopstick or dowel, glue, ruler and if you want, a sewing machine.

This part may seem long and tedious but it really wasn't so bad. I got it done in a night. The longest, most repetitive part was the number embroidery. The rest was really smooth sailing!

To get started on your bottom piece cut your pocket background/ bottom base piece the same width as the top applique piece. Leave the length until the end because you'll want the wiggle room later.

Now set those two pieces aside. Cut 5 strips from the felt your using for the pockets. Mine were 1-3/4 inches tall and the same width as the other 2 calender pieces.

Now I cut out 5 little templates of the pocket size I wanted and placed them on the first strip. The with a pencil drew quide lines inbetween them. Repeat with other four strips. Then number the pockets 1-5, 6-10, 11-15, 16-20, and 21-25.

Lay the numbered strips on your background piece about 1/4 inches apart, iron, and pin in place.


Sew the sides down close to the edge but not too close because you'll want to trim a tad bit later because felt likes to distort if you put too much pressure on it.
Sew across the bottom of each strip. Sew down the lines you drew. Now here you can just do full lines all the way down or do what I did and just sew on the pocket pieces. Just lift the presser foot in between each strip.

 Now take your top and bottom pieces a line them up, upside down, so they meet. Add a piece of fusible fleece to the center seam and iron. This will help you do the step after the next step.
Now cut another piece of fusible fleece the size of the whole calendar. Iron.

 Flip over to right side, make ties between the two pieces by running the thread from one piece on the front through the back and back out like this.

Evenly space them, as many as you want.


Now take your back pieces and if like me you needed two pieces to make up your back piece sew them together, flip over spread the seam and iron so it lays down flat.

Now lay out your back piece with the seam facing you and then lay the front piece on top facing up at you as well. Make sure your seam on the back piece lines up with the seam on your front piece. Pin it together.

Don't cut the back piece yet, again, wiggle room is good. Now sew the sides and bottom edge, leave the top alone.

Now trim down your pieces so they are all the same except the top. Leave a 3/4 inch part of the back piece intact.

Now round off the ends of your chopstick/dowel and run a line of glue down the seam between the top front and top back seam and lay your stick down.

Now run a line of glue down the stick.


Take your ruler and use it to evenly wrap the felt over the stick.

Let it dry then make little knots the same way you did earlier.

Now tuck the excess in using your scissors.

Run another line of glue down the seam and slightly fold over so the seam disappears. Tape in place to dry or use clothes pins to hold it until it dries.

Once dry remove tape (or clothes pins).
Take a push pin and carefully push it through to make a hole on both sides of the stick. I had to use a hammer and my stick split but a little wood glue at the end fixed that.

Now thread a piece of ebroidery thread through the holes.

Place a knot at the ends of both sides.


After this I also tied a couple of knots at the top of the string to make hanger loop.

So, there you go! All done!

Now, hang in there with me because Monday I'll have a little 'mover' to follow the days! Have a fun weekend!


As with all of my projects, I have designed them for my family and love to share with you so you can have them for your families as well. All projects, patterns and directions are meant for your personal use and neither the patterns nor completed projects are to be used for monetary gain.

Wednesday, November 10, 2010

Advent calendar-part 1


Growing up I remember always loving putting up our advent calendar. It was green with a little snowy scene with little mice. It had 25 little pockets all lined up and my mom and I would fill it with little chocolates or candies of the Christmasy sort. It hung at the bottom of our stairs on a rustic real wood wall. I loved it. It still makes me smile. My mom still has it actually, and I hope it inherit it one day. But for now I'm making one for my kids. Not with the same image but I'm keeping with the design. I am so excited to share this tradition with kids.

Now this isn't a hard project but has a lot of steps so I'm breaking it up into two parts. One thing I hate about some tutorials (mine included) is that they seem to go on forever and I find myself just scrolling through not really reading and then I just take the idea a wing it. Well, I do that no matter what actually, which usually leads to fails that I have to start the project over! But this one so far is coming together amazing.

I didn't design the applique myself this time because I wanted to make the process a little shorter. I went to Wee Folk Art which is the first ever craft blog I ever read plus the first tutorial I ever used. If you haven't been there GO! The Mother-Daughter team is amazing, they have so so so many amazingly great tutorials, appliques, recipes and ideas.

I did use their applique design but of course tweaked it a bit. I added and extra tier to the bottom, took out the snowy background and added a trunk, and flipped the direction the top points. I also didn't follow the directions for the stitching.

Okay, enough chit chat here's Part one of my Advent calendar, the top appliqued panel.

You'll need:
Applique design-here is the adorable Wee Folk Art one I used
Embroidery supplies
Fusible fleece
Buttons or other tree embelishments
Felts-I used an evergreen for the tree, dandelion for the star, buttermilk for the back that will be behind the pockets, dolphin for the back pieces, sky blue for the applique background, and red for the pockets.

Let's get going by cutting out your pattern pieces from your felt and lay them out how you want them.

Now place your design on your background felt where you wan it and trim you felt so it's a workable size. My felts are 12x12 by default so I cut it down to about 9x7.

Now stitch your pieces together and lay your design back on your background.


Once you have your design where you want it stitch it to the background by going all around the outer lines.

Then I stitched the second star on top of the one that was already on there.

Then I stitched some straight lines on the truck to make it a little bark like.


Here is what it looks like.


Now position your embellishments. I took a picture once I had them all where I wanted them so when I took them off I could refer back to it for placement.
Then I sewed them on.

Next I stitched little stars/snowflakes all over the background.

This is it for the applique portion. See you on Friday for the rest of the calendar!
Now go see the ladies over at Weefolkart.com for some great inspiration!


As with all of my projects, I have designed them for my family and love to share with you so you can have them for your families as well. All projects, patterns and directions are meant for your personal use and neither the patterns nor completed projects are to be used for monetary gain.